The Art of Cleanliness: Why a Tidy Home Matters

This is part 1 of a 20-part installment to the “Ultimate Guide To Cleaning Your Home”.

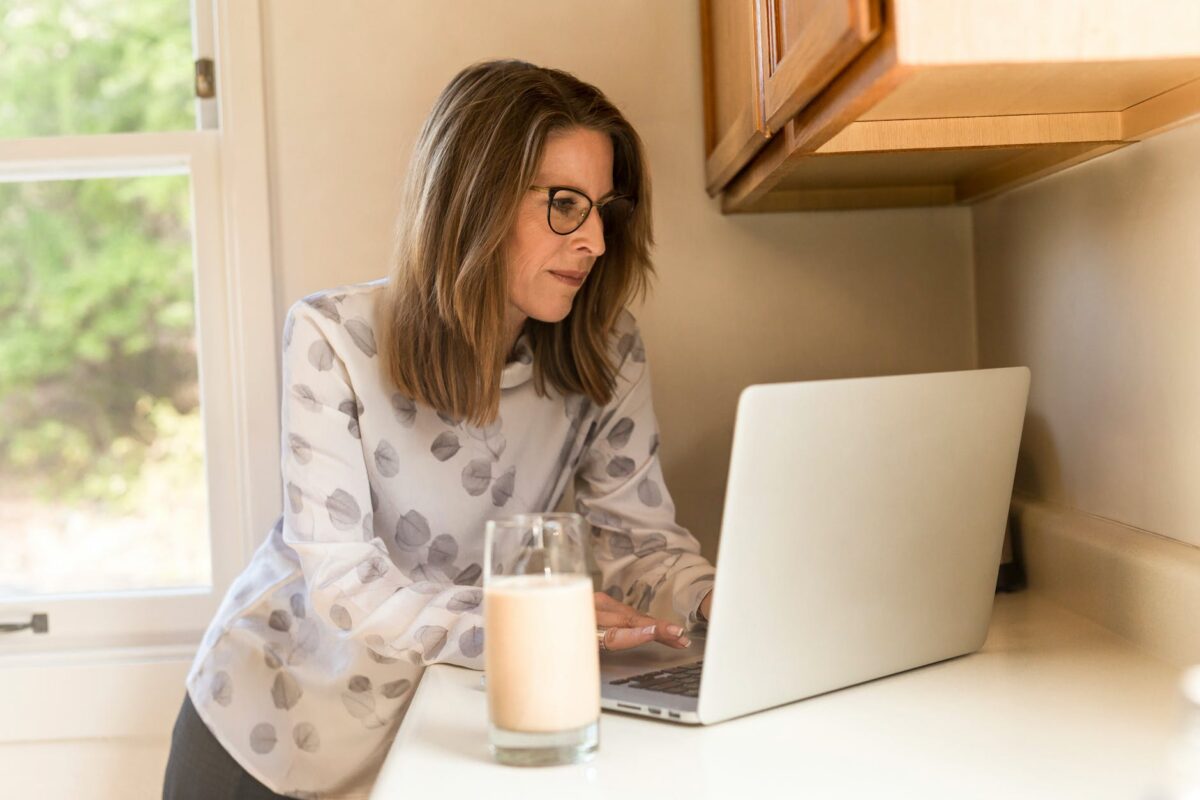
A clean home is not just a pretty sight; it’s a sanctuary for the body and soul. We all know that feeling of walking into a freshly cleaned space—the air seems crisper, and the world feels more manageable. But beyond the immediate aesthetic appeal, the importance of cleanliness in the home runs deeper than you might think. In this article, we’ll explore the significance of maintaining a clean living environment and the myriad benefits it brings to your physical and mental well-being.

A Healthy Haven

One of the foremost reasons cleanliness in the home is essential is its direct impact on your health. A clean living environment significantly reduces the risk of illness and allergies. Dust mites, mold, and bacteria thrive in cluttered, dirty spaces, leading to respiratory problems and allergies. Regular cleaning minimizes these risks, helping you breathe easier and stay healthier.

Mental Clarity and Focus

The state of your home often reflects the state of your mind. A cluttered and dirty environment can contribute to stress, anxiety, and a sense of chaos. On the other hand, a clean and organized space promotes mental clarity and focus. You’ll find it easier to concentrate, be more productive, and experience an overall sense of calmness when your surroundings are tidy.

Boost to Productivity

Maintaining cleanliness in your home can boost productivity levels. When everything is in its place and the environment is orderly, you spend less time searching for lost items or dealing with unnecessary distractions. This newfound efficiency can spill over into other aspects of your life, making you more effective and goal-oriented.

Enhanced Mood and Well-Being

Coming home to a clean space is like a warm embrace after a long day. It’s no surprise that a clean living environment can have a positive impact on your mood and overall sense of well-being. The act of cleaning itself can be therapeutic, releasing endorphins and reducing stress levels. Plus, when your home is tidy, you’re more likely to invite friends over, fostering social connections and happiness.

Guest-Ready Anytime

Speaking of friends, maintaining cleanliness in your home means you’re always ready to host guests, whether it’s an impromptu visit or a planned gathering. No more frantic last-minute cleaning sessions when the doorbell rings!

Increased Safety

A clean home is a safe home. Cluttered spaces increase the risk of accidents, such as trips and falls. Additionally, proper cleaning practices help eliminate hazards like slippery floors and exposed electrical outlets, ensuring a safer environment for you and your loved ones.

A Sense of Pride

Finally, the importance of cleanliness in the home can’t be overstated when it comes to instilling a sense of pride. A well-kept home reflects your care for your living space and your commitment to a high standard of living. This pride in your home can extend to other aspects of your life, fostering a sense of responsibility and accomplishment.

Conclusion

In conclusion, maintaining cleanliness in your home goes far beyond appearances. It’s a cornerstone of good health, mental well-being, productivity, and safety. The benefits of a clean living environment are both immediate and long-lasting, providing you with a happier, healthier, and more enjoyable space to call home. So, let’s embrace the art of cleanliness, recognizing its profound impact on our lives.

How to prepare for your Healthy Home Package Cleaning

Benchmark’s Healthy Home Package is at the heart of every clean they offer – it’s their Core 10-Steps, Anti-Allergen Treatment, Speed Drying, Protectant, Sanitizing, and more. What it offers is a full spectrum of cleaning and sanitizing your home.

Here’s how to prepare for your upcoming Healthy Home Package Cleaning:

  1. Clear the Area: Prior to the cleaning appointment, remove any items or obstacles that could obstruct the cleaning process. If floors are to be cleaning, remove any loose or breakable items that can be of concern. If countertops, same, clear and clean the and other surfaces to allow the cleaners easy access to the areas that need attention.
  2. Declutter: Tidy up the space by removing excess clutter such as toys, clothes, or personal items. This will make it easier for the cleaners to focus on the cleaning tasks and ensure they can reach all the areas that need attention.
  3. Communicate Specific Needs: If there are any specific areas or items that require special attention, make sure to communicate this to the cleaning service beforehand. For example, if you have stains on upholstery or specific instructions for certain surfaces, let them know in advance.
  4. Prepare Pets: If you have pets, it’s a good idea to make arrangements to keep them in a separate area or outside during the cleaning appointment. This ensures the safety of both your pets and the cleaning technicians.
  5. Make Way for Parking: If parking is limited in your area, make sure to reserve or provide a space for the cleaning team’s vehicle. This will help facilitate a smooth and timely arrival.
  6. Ask About Pre-Cleaning Instructions: Contact Benchmark Restoration and Cleaning directly to inquire about any specific pre-cleaning instructions they may have. They can provide you with their recommended guidelines for preparing your space before their arrival.

What’s IS in a Healthy Home Cleaning?

Healthy Home Package w/Core 10 Step Cleaning

Step #1.  Pre Inspection:  Every carpet is thoroughly inspected before cleaning, noting level of soiling, spots/stains, and wear.

Step #2.  Furniture Moving:  Sofas, Chairs and Tables are carefully moved.

Step #3.  Pre-Spray:  Most used areas are pre-treated to break down Soil.

Step #4.  Pre-Spot:  Difficult spots are treated with special solutions to increase chances for removal.

Step #5.  Pre-Grooming:  Special tools are used to loosen the soils.

Step #6.  Soil Extraction & Rinse:  The loosened soil is then thoroughly extracted

Step #7.  Neutralize:  Your cleaning area is pH balanced to eliminate soil attracting residues.

Step #8.  Post Spot Treatment:  Treatment of specialty spots is included.

Step #9:  Post-Grooming:  To set the area for appearance and faster drying.

Step #10:  Post Inspection:  A post walkthrough is performed with you to make sure you are thrilled!

HEALTHY HOME PACKAGE ADDS:

Step #11  DrySteem™ Extraction:  Our exclusive DrySteem™ System removes 85% more  moisture so your cleaned areas are dry in about 2-3 hours

Step #12  Factory FiberGuard Protectant:   To protect agains soil, liquid and oil based spills.

Step #13  Commercial Pile Lifting:  To remove the gritty dry soil.

Step #14 Spray & Wipe Down Baseboards:  Eliminating the dust that accumulates.

Step #15 DuraSan™ Sanitizing:  To assist in neutralizing bacteria, allergens, and dust mites.

Cleaning Length: The time to clean your items depends on the volume, and the amount of contents that require moving before, and after your cleaning. That said, most cleans take about 2 -3 Hours.

Drying Length: Drying time can vary based on severity of soiling, and humidity in the air. On it’s own, it can take approximately 2 – 3 hours to dry.

What’s NOT in a Healthy Home Cleaning

It has everything – It is the full spectrum to ensure your cleanest treatment possible.

The Healthy Home Package is the MOST POPULAR of the three packages Benchmark offers. Reviews of this package point to the DrySteem Rinse & Extraction as one of the major wins of this clean, because it leaves the carpet dry to the touch, and protected from future spills, stains and dirt.

How to Clean a Dishwasher: A Step-by-Step Guide to Sparkling Results

A dishwasher is an indispensable appliance in the modern kitchen, streamlining the dishwashing process and saving valuable time. However, like any other appliance, it requires regular cleaning to maintain optimal performance and hygiene. In this article, we will guide you through the step-by-step process of cleaning your dishwasher, ensuring sparkling clean dishes with each cycle.

Step 1: Empty the Dishwasher: Before starting the cleaning process, make sure the dishwasher is empty. Remove any dishes, utensils, or debris from the racks, filters, and spray arms. This allows for thorough cleaning of all components.

Step 2: Clean the Filter: The filter in your dishwasher plays a crucial role in trapping food particles and preventing clogs. Start by locating the filter, usually at the bottom of the dishwasher. Depending on the model, the filter may twist or pull out. Remove the filter and rinse it under running water to dislodge any food debris. Use a soft brush or toothbrush to scrub away stubborn residue. Once clean, reinsert the filter into its place.

Step 3: Wipe Down the Interior: Using a damp cloth or sponge, wipe down the interior walls, door gasket, and detergent dispenser of the dishwasher. Pay special attention to any visible grime or residue. For stubborn stains or mineral buildup, a mixture of equal parts vinegar and water can be effective. Avoid using abrasive cleaners that may damage the interior.

Step 4: Clean the Spray Arms: The spray arms distribute water to clean the dishes. Over time, they can become clogged with debris or mineral deposits, affecting their efficiency. To clean the spray arms, gently remove them from their mountings. Clear any blockages by using a toothpick or small brush to dislodge particles from the spray holes. Rinse the arms thoroughly and reattach them.

Step 5: Descaling the Dishwasher: Mineral deposits from hard water can accumulate in your dishwasher and affect its performance. To remove these deposits, place a dishwasher-safe cup filled with white vinegar on the top rack. Run a hot water cycle without any dishes, using the vinegar to break down mineral buildup. Alternatively, you can use a dishwasher cleaner specifically designed for descaling. Follow the instructions on the product label for optimal results.

Step 6: Freshen the Interior: To eliminate any lingering odors, sprinkle baking soda on the bottom of the dishwasher. Run a short, hot water cycle to help neutralize odors and leave your dishwasher smelling fresh.

Step 7: Maintain Regularly: To keep your dishwasher in top condition, follow these maintenance tips:

  • Scrape off excess food from dishes before loading them into the dishwasher.
  • Regularly check and clean the filter to prevent clogs and maintain optimal performance.
  • Use a dishwasher cleaner or descaling agent every few months, especially in areas with hard water.
  • Inspect and clean the door gasket periodically to remove any debris or residue.

Cleaning your dishwasher not only ensures hygienic dishwashing but also extends the lifespan of the appliance. By following these step-by-step instructions, you can maintain a clean and efficient dishwasher, leaving you with spotless dishes after every cycle. Remember to consult the manufacturer’s guidelines for any specific recommendations for your dishwasher model.

Carpet Not Drying After Cleaning?

If you’ve recently cleaned your carpet and noticed that it’s not drying properly, there could be a few reasons why. In this article, we’ll discuss some of the most common causes and solutions for a carpet that won’t dry after cleaning.

Causes and Solutions

  1. Humidity: If the humidity in your home is high, it can prevent your carpet from drying quickly. This is because the moisture in the air slows down the evaporation process. To combat this, you can turn on the air conditioning or a dehumidifier to reduce the humidity in your home.
  2. Lack of airflow: Without proper airflow, your carpet won’t dry as quickly as it should. Make sure to open windows and doors to let fresh air circulate, and use fans to increase air movement in the room.
  3. Using too much water: If you use too much water when cleaning your carpet, it can take a long time to dry. Make sure to follow the manufacturer’s instructions for your cleaning solution and avoid saturating the carpet.
  4. Using the wrong cleaning solution: Some cleaning solutions can leave behind a residue that can slow down the drying process. Make sure to use a cleaning solution that is specifically designed for your type of carpet.
  5. Carpet padding: If your carpet padding is wet, it can take a long time to dry. This is because the padding absorbs a lot of moisture. If possible, try to remove the padding and let it dry separately.
  6. Carpet age and condition: If your carpet is old or in poor condition, it may not dry as quickly as a newer carpet. This is because older carpets tend to hold more moisture.

Time To Call A Professional?

If you’ve tried all of these solutions and your carpet still isn’t drying, it may be time to call in a professional carpet cleaner. They can help identify the root cause of the problem and take steps to properly dry your carpet.

In conclusion, a carpet that won’t dry after cleaning can be frustrating, but there are steps you can take to speed up the drying process. By reducing humidity, increasing airflow, using the right cleaning solution, and addressing any underlying issues, you can help ensure that your carpet dries properly and stays in good condition.

How To Dry Carpet After Cleaning

After cleaning your carpet, it’s essential to ensure that it dries completely to prevent mold and mildew growth. Here are some tips on how to dry your carpet effectively:

7 Tips – How To Dry Carpet After Cleaning

  1. Use fans: Place fans around the room to increase air circulation and promote evaporation. Point them in the direction of the carpet, and if possible, open windows and doors to let fresh air in. Ceiling fans can also help to circulate the air in the room.
  2. Use a dehumidifier: If the humidity in the room is high, it can slow down the drying process. A dehumidifier can help to remove excess moisture from the air and speed up the evaporation process.
  3. Use towels: If there is excess water on the carpet, use clean towels to blot the area. Place a dry towel on top of the wet area and press down with your feet or hands to absorb the moisture. Replace the towel with a dry one as it becomes wet.
  4. Use a wet/dry vacuum: A wet/dry vacuum can be used to remove excess water from the carpet. Use the vacuum to suction up as much water as possible. Be sure to follow the manufacturer’s instructions for using the vacuum on wet surfaces.
  5. Elevate furniture: If there is furniture on the carpet, lift it off the floor using furniture pads or blocks to prevent it from absorbing moisture from the carpet.
  6. Use baking soda: Once the carpet is mostly dry, sprinkle baking soda over the surface. This will help to absorb any remaining moisture and remove any odors.
  7. Call in a professional: If you’ve tried all these methods and the carpet still isn’t drying, it may be time to call in a professional carpet cleaner. They will have specialized equipment and expertise to dry your carpet thoroughly.

In conclusion, if your carpet not drying after cleaning, drying your carpet after cleaning is crucial to prevent mold and mildew growth. By using fans, a dehumidifier, towels, a wet/dry vacuum, elevating furniture, using baking soda, or calling in a professional, you can ensure that your carpet dries quickly and stays in good condition.

About the author

Hi there, I’m Adam.

I’m owner of Benchmark Restoration & Cleaning and working in Vancouver Washington. When I’m not restoring homes, I’m out exploring the National Parks with family.

Benchmark Restoration & Cleaning

11419 NE 126th St, Suite #116 Vancouver Washington 98662

Phone: 360-696-4140

Email: [email protected]